How To Change Fonts On Android (With or Without Root)
How To Change Fonts On Android (With or Without Root)
")
f you are using an Android powered smartphone for a long time, then you must be bored watching the same style of font every time. The default font for Android is pretty good and easier to read things, but if you think that you guys need to change the font, then you can easily do it. There is the built-in option for changing the font in Android all versions but there are not many fonts pre-installed, so you need to download the fonts and then need to install then on your smartphone.
How to Change Fonts On Android 2017 (Without Root & Rooted Devices)
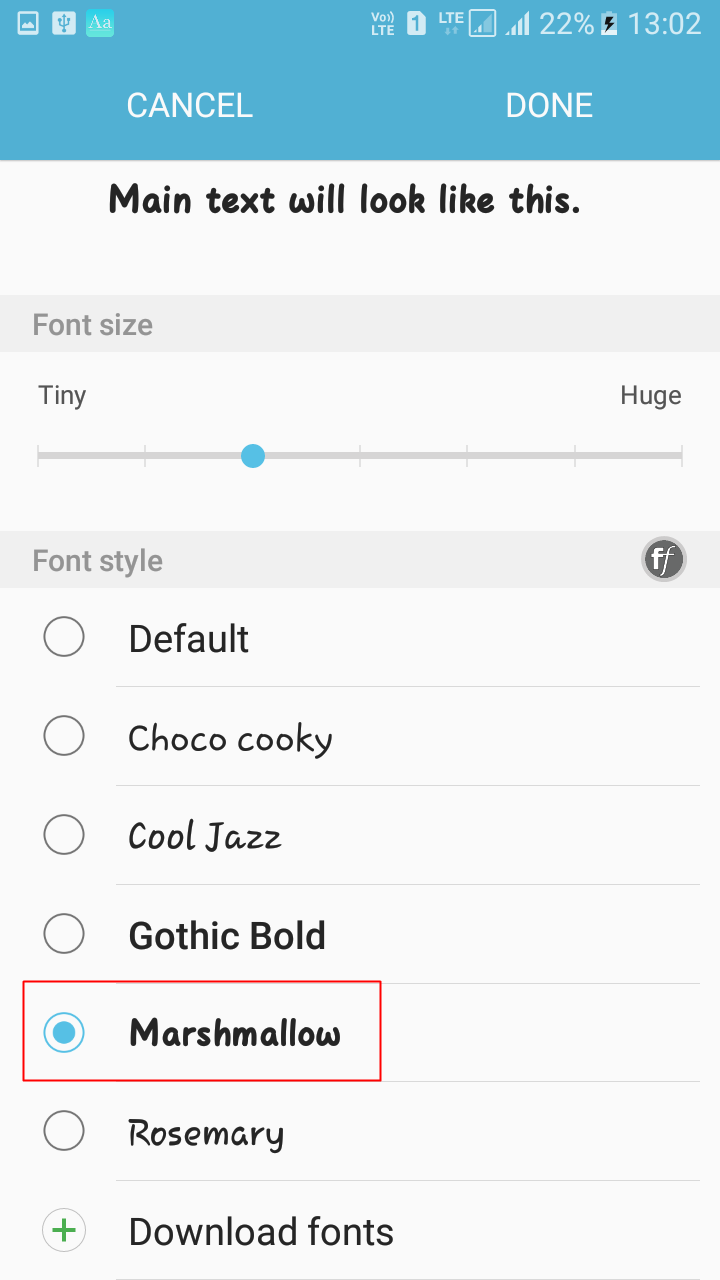
There are two ways to change fonts on your device. The first one is to use the system’s default option to change fonts, that of course, does not require your device to be rooted. The second way is to use a root-only app that does the task for you. So depending on the root status of your device, choose one of the ways below accordingly.
Steps to Change Fonts on Android 2017 (Without Root):
#Using GO Launcher Ex
Step 1. First of all, install GO Launcher from Google Play Store or by clicking the button below.

Step 2. Secondly, you have to install GO Launcher Fonts from the Play Store or by clicking the button below. GO launcher font is an Amazing App that provides different fonts.

Step 3. Now you need to search for your favorite font in Go Launcher Fonts. Search it and download it.

Step 4. Open the Go Launcher App and from the home screen tap the Menu button at right corner. Now there select “Go Settings”
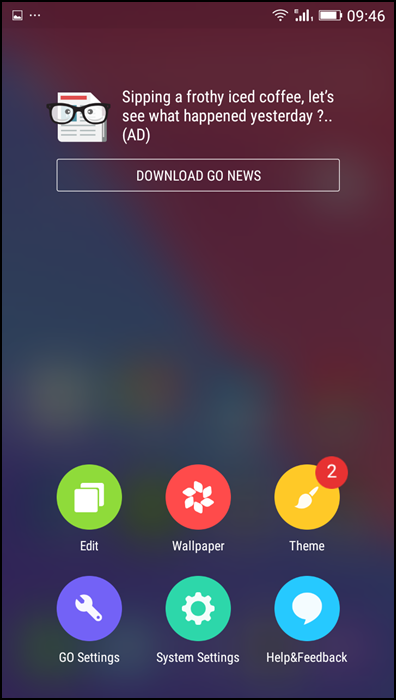
Step 5. Select the Preferences from the menu then look for the font option.

Step 6. Now you will see the list of fonts then select the font of your choice. You need to click on “Scan font” to see your downloaded fonts.

You can manually put the font files to the path /sd card/GOlauncher Ex/fonts. After doing the changes, changes take place immediately without restarting the Phone.
Steps to Change Fonts on Android 2017 (For Rooted Devices):
It ‘s easy to change system font using iFont App. Check it out below and follow the steps
Step 1. First of all, you need to root your android device.

Step 2. Download and install an iFont application.

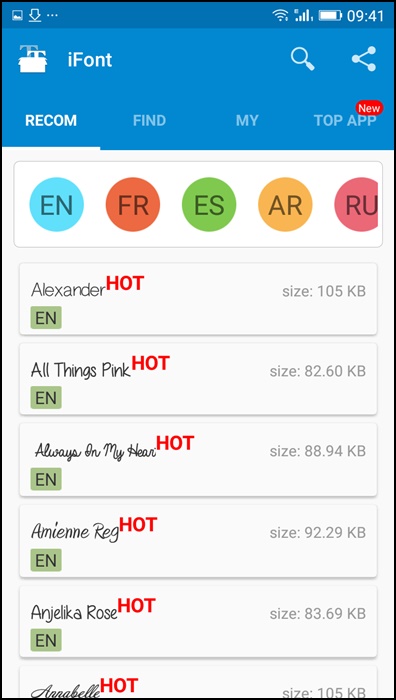
Step 3. Open the iFont App, and you will get a list of available fonts for your device, select and install any font on your Android.
Step 4. Now select any one of them and click on Set.
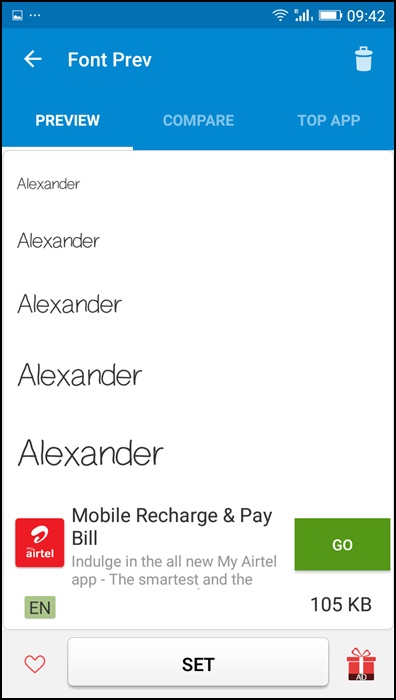
Step 5. After clicking on the set, iFont application grants Superuser permission, then click on Allow permission. Now your device starts to reboot and after that font style successfully changes. Enjoy !!
Note: If you have own ‘TTF‘ font file copy it and paste on your Sd card, then click on Custom > Select your ‘TTF‘ font file from your SD card.
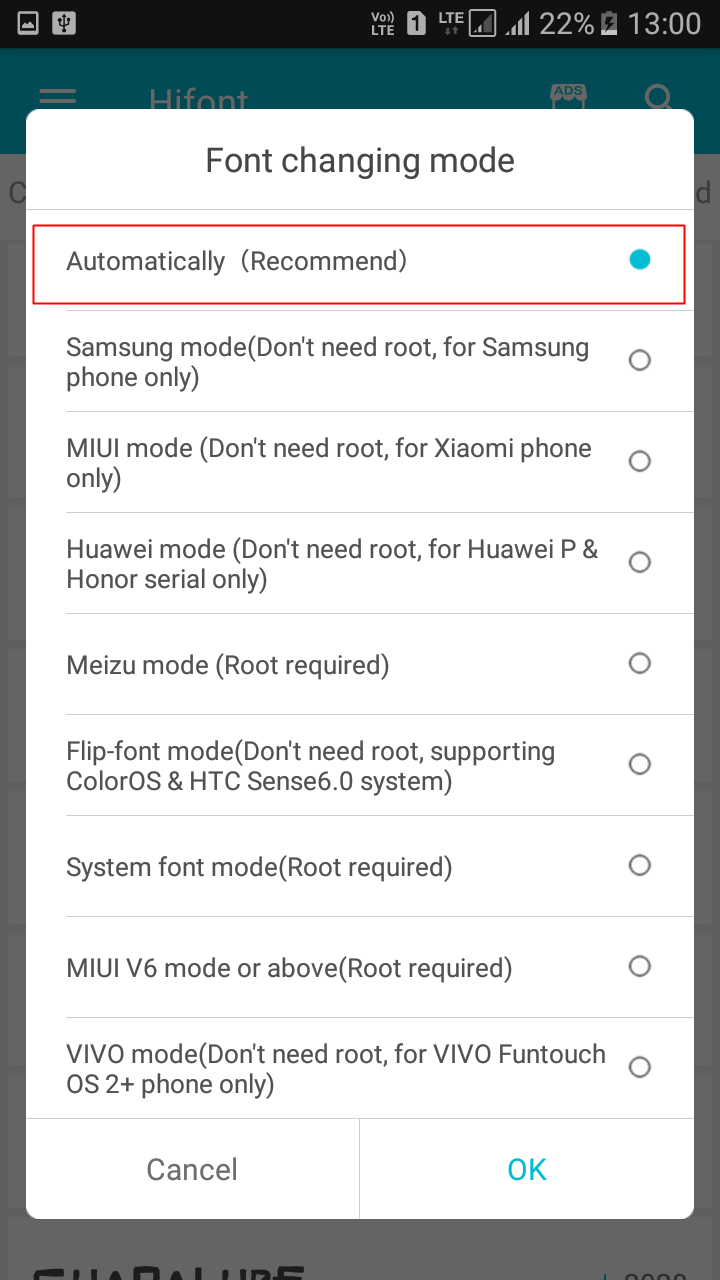
Using HiFont:
HiFont is the best flip font installer for android. Hundreds of handpicked written fonts style like cute, darker, candy-colored fonts are all for you. And it is compatible with the font program on your phone
Step 1. First of all, download and install HiFont on your Android device. Once installed open the app.


Comments
Post a Comment